How do I set up my campaign sequence? (MA)
Before you start: You should already have your campaign type, name, and ICP defined.
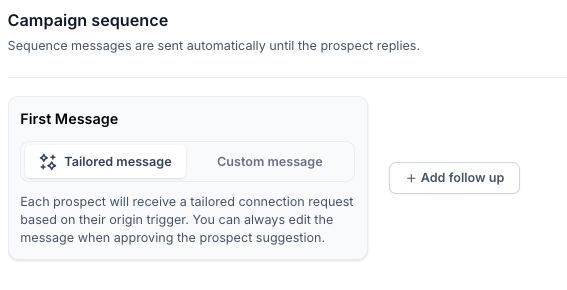
Step 1: Choose your First Message type
- Tailored message: If you select this, each prospect will receive a tailored connection request based on their origin trigger.
- Custom message: Use this option to write a set connection request message that will be sent to all prospects
Step 2: Add follow-up messages
- Click '+ Add follow up' to add each next message in the sequence.
- Follow-ups send automatically until the prospect replies.
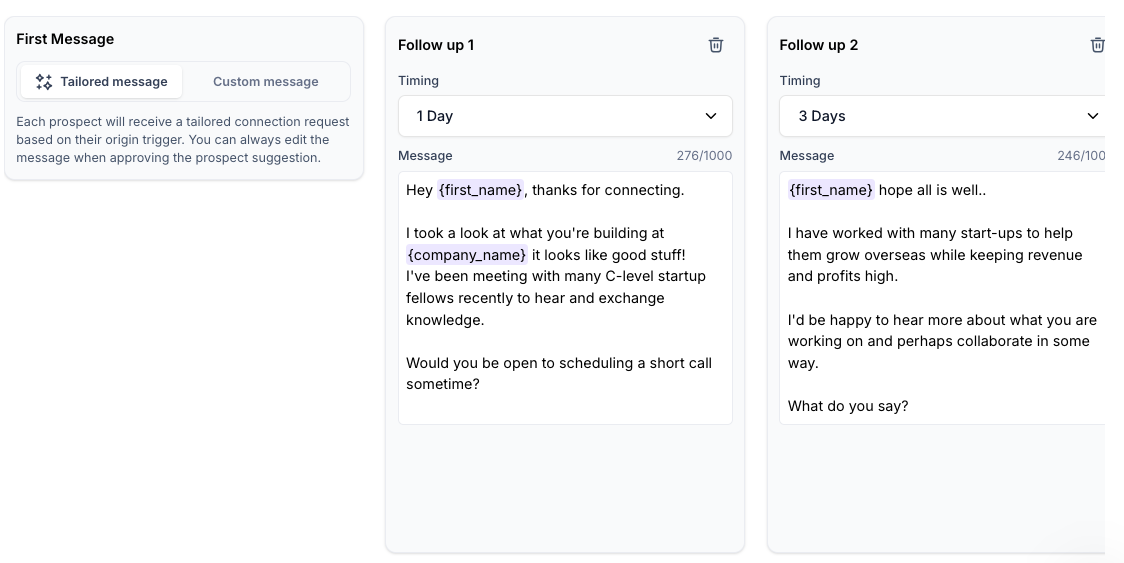
Step 3: Write your copy
- Use Samplead placeholders (e.g.,
{{first_name}}). - Set the timing (delay in days) for each follow-up.
Step 4: Finalize
- Click Create Campaign in the bottom-right corner.
💡 Tip: Want to reuse a winning sequence? Click 'Copy from' to pull the sequence from any active campaign.
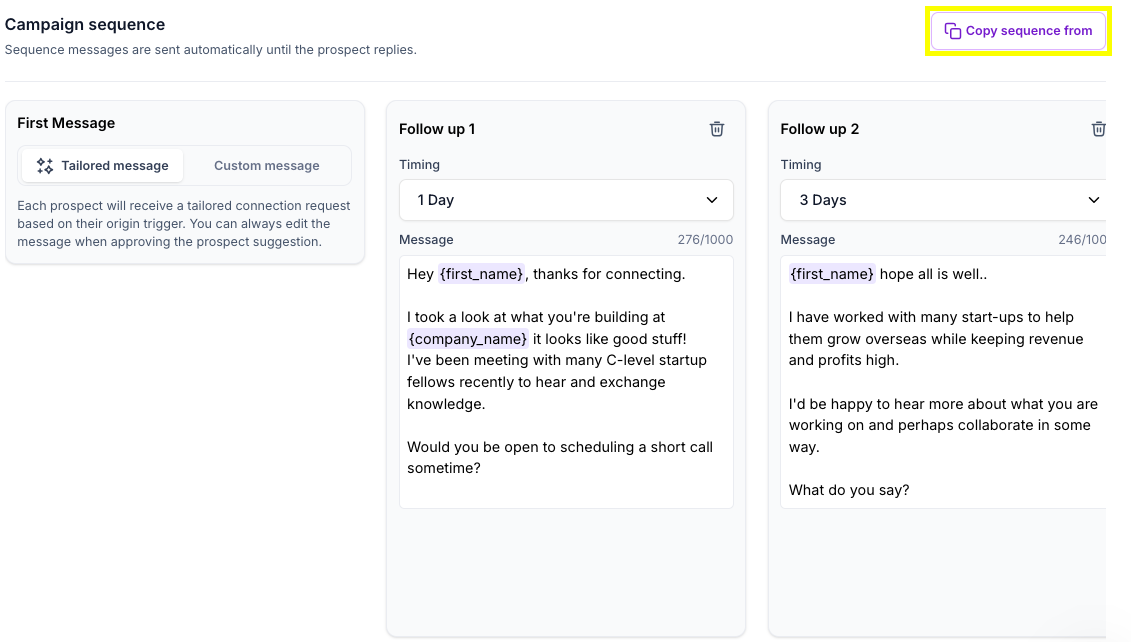
Select the profile and campaign from which you want to copy the Sequence, and press 'Confirm'.

Useful Tip: Messaging A/B Testing
Run two campaigns with different copy strategies to see what drives better engagement. Change just one variable at a time — tone, CTA, or message length — and compare results.
Use Copy From to duplicate your sequence, then tweak only what you want to test.